
If your home still has knob-and-tube wiring, cloth-insulated cables, or a fuse box that trips every time you run the microwave and hair dryer together, you may already know a rewire is in your future. The idea of tearing into walls and ceilings sounds disruptive and expensive, and honestly, it can be both. But going in with realistic numbers, a clear timeline, and an understanding of what actually happens during the process will help you plan the project instead of dreading it. This guide breaks down what rewiring an older home really involves, so you can budget wisely and avoid costly surprises.
Signs Your Home Needs a Full Rewire
Not every electrical issue means you need to rewire the entire house, but certain warning signs point to a system that has simply outlived its usefulness. Homes built before the 1960s often have wiring types and panel configurations that were never designed for today’s electrical loads, and patch repairs only go so far. Flickering lights, warm outlet covers, and a persistent burning smell are not quirks to ignore; they are signals that the system is struggling.
Insurance companies have also caught on to the risks tied to outdated wiring, and some will deny coverage or charge higher premiums for homes with knob-and-tube or aluminum wiring. That alone pushes many homeowners to act before a problem forces their hand.
- Frequent breaker trips or blown fuses during normal use
- Two-prong outlets with no grounding wire throughout the house
- Visible cloth, rubber, or crumbling insulation on wires in the attic or basement
- A fuse box instead of a modern circuit breaker panel
- Discolored or warm switch plates and outlet covers
Typical Price Ranges for a Whole House Rewire
Cost is usually the first question homeowners ask, and the honest answer is that it depends heavily on the size, age, and accessibility of the home. A single-story house with an open crawlspace is far cheaper to rewire than a two-story home with plaster walls and finished ceilings. On average, homeowners can expect to pay somewhere between $8,000 and $20,000 for a complete rewire, though larger or more complex homes can push past $30,000.
Several factors swing that price up or down beyond square footage alone. The condition of the existing wiring, the number of outlets and fixtures being added, and whether the panel itself needs upgrading all factor into the final quote. It’s worth getting more than one estimate, since pricing can vary noticeably between contractors in the same area.
- Panel upgrade to 200-amp service: $1,500 to $4,000
- Cost per outlet or switch replacement: $150 to $250
- Opening and repairing drywall or plaster: $2 to $10 per square foot
- Whole house rewire for a 1,500 square foot home: roughly $8,000 to $15,000
- Additional cost for knob-and-tube removal due to labor intensity
What Happens During Each Phase of the Project
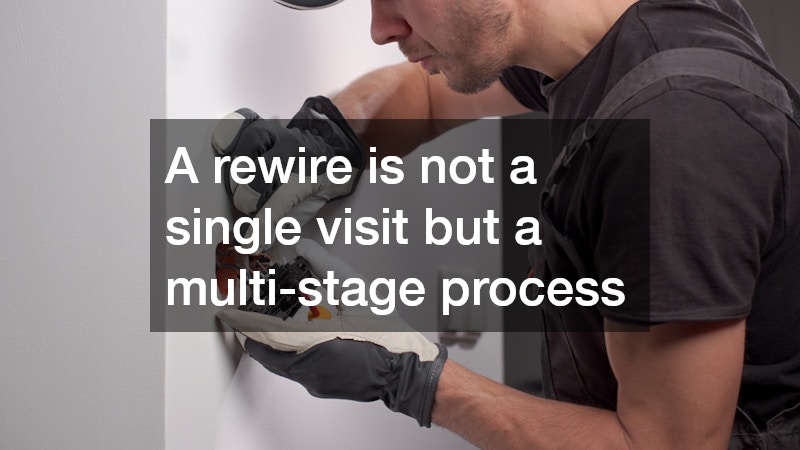
A rewire is not a single visit but a multi-stage process that typically unfolds over one to three weeks depending on the home’s size. The work usually starts with an inspection and load calculation to determine what the new system needs to support, followed by permitting with the local building department. Once permits are approved, the crew begins pulling new wire through walls, attics, and crawlspaces, which is the most invasive and disruptive stage.
After the new wiring is run, the team installs outlets, switches, and fixtures, then connects everything to the panel. A local inspector checks the work before walls can be closed up, and only after that approval does drywall repair and patching begin. Expect to live with some dust, exposed wall sections, and temporary power interruptions during this stretch of the project.
- Initial inspection and electrical load assessment
- Permit application and approval through the city or county
- Wire pulling and rough-in work through walls and ceilings
- Panel connection and fixture installation
- Final inspection followed by drywall patching and cleanup
Common Complications That Extend Timelines and Budgets
Older homes rarely give up their secrets easily, and plaster walls, balloon framing, and unexpected asbestos or knob-and-tube remnants can all slow progress. Plaster is far more labor-intensive to open and patch than modern drywall, and balloon framing can make it harder to fish wire vertically through wall cavities without additional access points. These surprises are common enough that experienced contractors build some contingency into their estimates.
Another frequent complication is discovering that the home’s electrical panel or service entrance cannot support the new circuits without an upgrade. This is often not apparent until the wiring is partially exposed, which means the scope of work can change mid-project. Homeowners should budget a buffer of 10 to 20 percent above the initial quote to cover these kinds of discoveries.
- Plaster and lath walls requiring extra demolition and patching time
- Balloon-frame construction complicating wire routing between floors
- Asbestos insulation or hazardous materials requiring specialized removal
- Undersized electrical panels needing replacement mid-project
- Hidden junction boxes or abandoned wiring left by previous owners
Choosing the Right Contractor for the Job
Rewiring a home is not a project for a general handyman, since it involves both technical precision and code compliance that only trained professionals can guarantee. Working with licensed electricians ensures the job meets national and local electrical codes, and it also protects you if something goes wrong down the line, since licensed work is typically backed by insurance and warranties. Ask any contractor you’re considering for proof of licensing, references from similar rewiring projects, and a written estimate that breaks down labor and materials separately.
It also helps to get quotes from a few local electricians rather than settling on the first bid you receive, since pricing and availability can vary a lot depending on demand in your area. A contractor familiar with your city’s permitting process and inspection requirements can often move through the project faster than one working outside their usual territory. Don’t be afraid to ask pointed questions about timeline, cleanup responsibilities, and how they handle unexpected issues like the ones mentioned above.
- Verify state licensing and liability insurance before signing a contract
- Request at least three references from recent rewiring projects
- Compare written estimates that separate labor, materials, and permit fees
- Ask about warranty coverage on both labor and materials
- Confirm familiarity with your local permitting and inspection process
Rewiring an older home is a significant investment, but it’s also one that pays off in safety, insurability, and peace of mind for years to come. Start by getting a professional assessment of your current wiring, then gather multiple quotes so you can compare pricing and scope side by side. With realistic expectations about cost, timeline, and the occasional surprise behind the walls, you’ll be in a much stronger position to see the project through without unnecessary stress.